Introduction
ntfy is a simple, lightweight notification service that allows you to send push notifications to your devices. This guide will walk you through self-hosting ntfy and integrating it with other services.
Common Issue: ntfy Not Working on HTTP
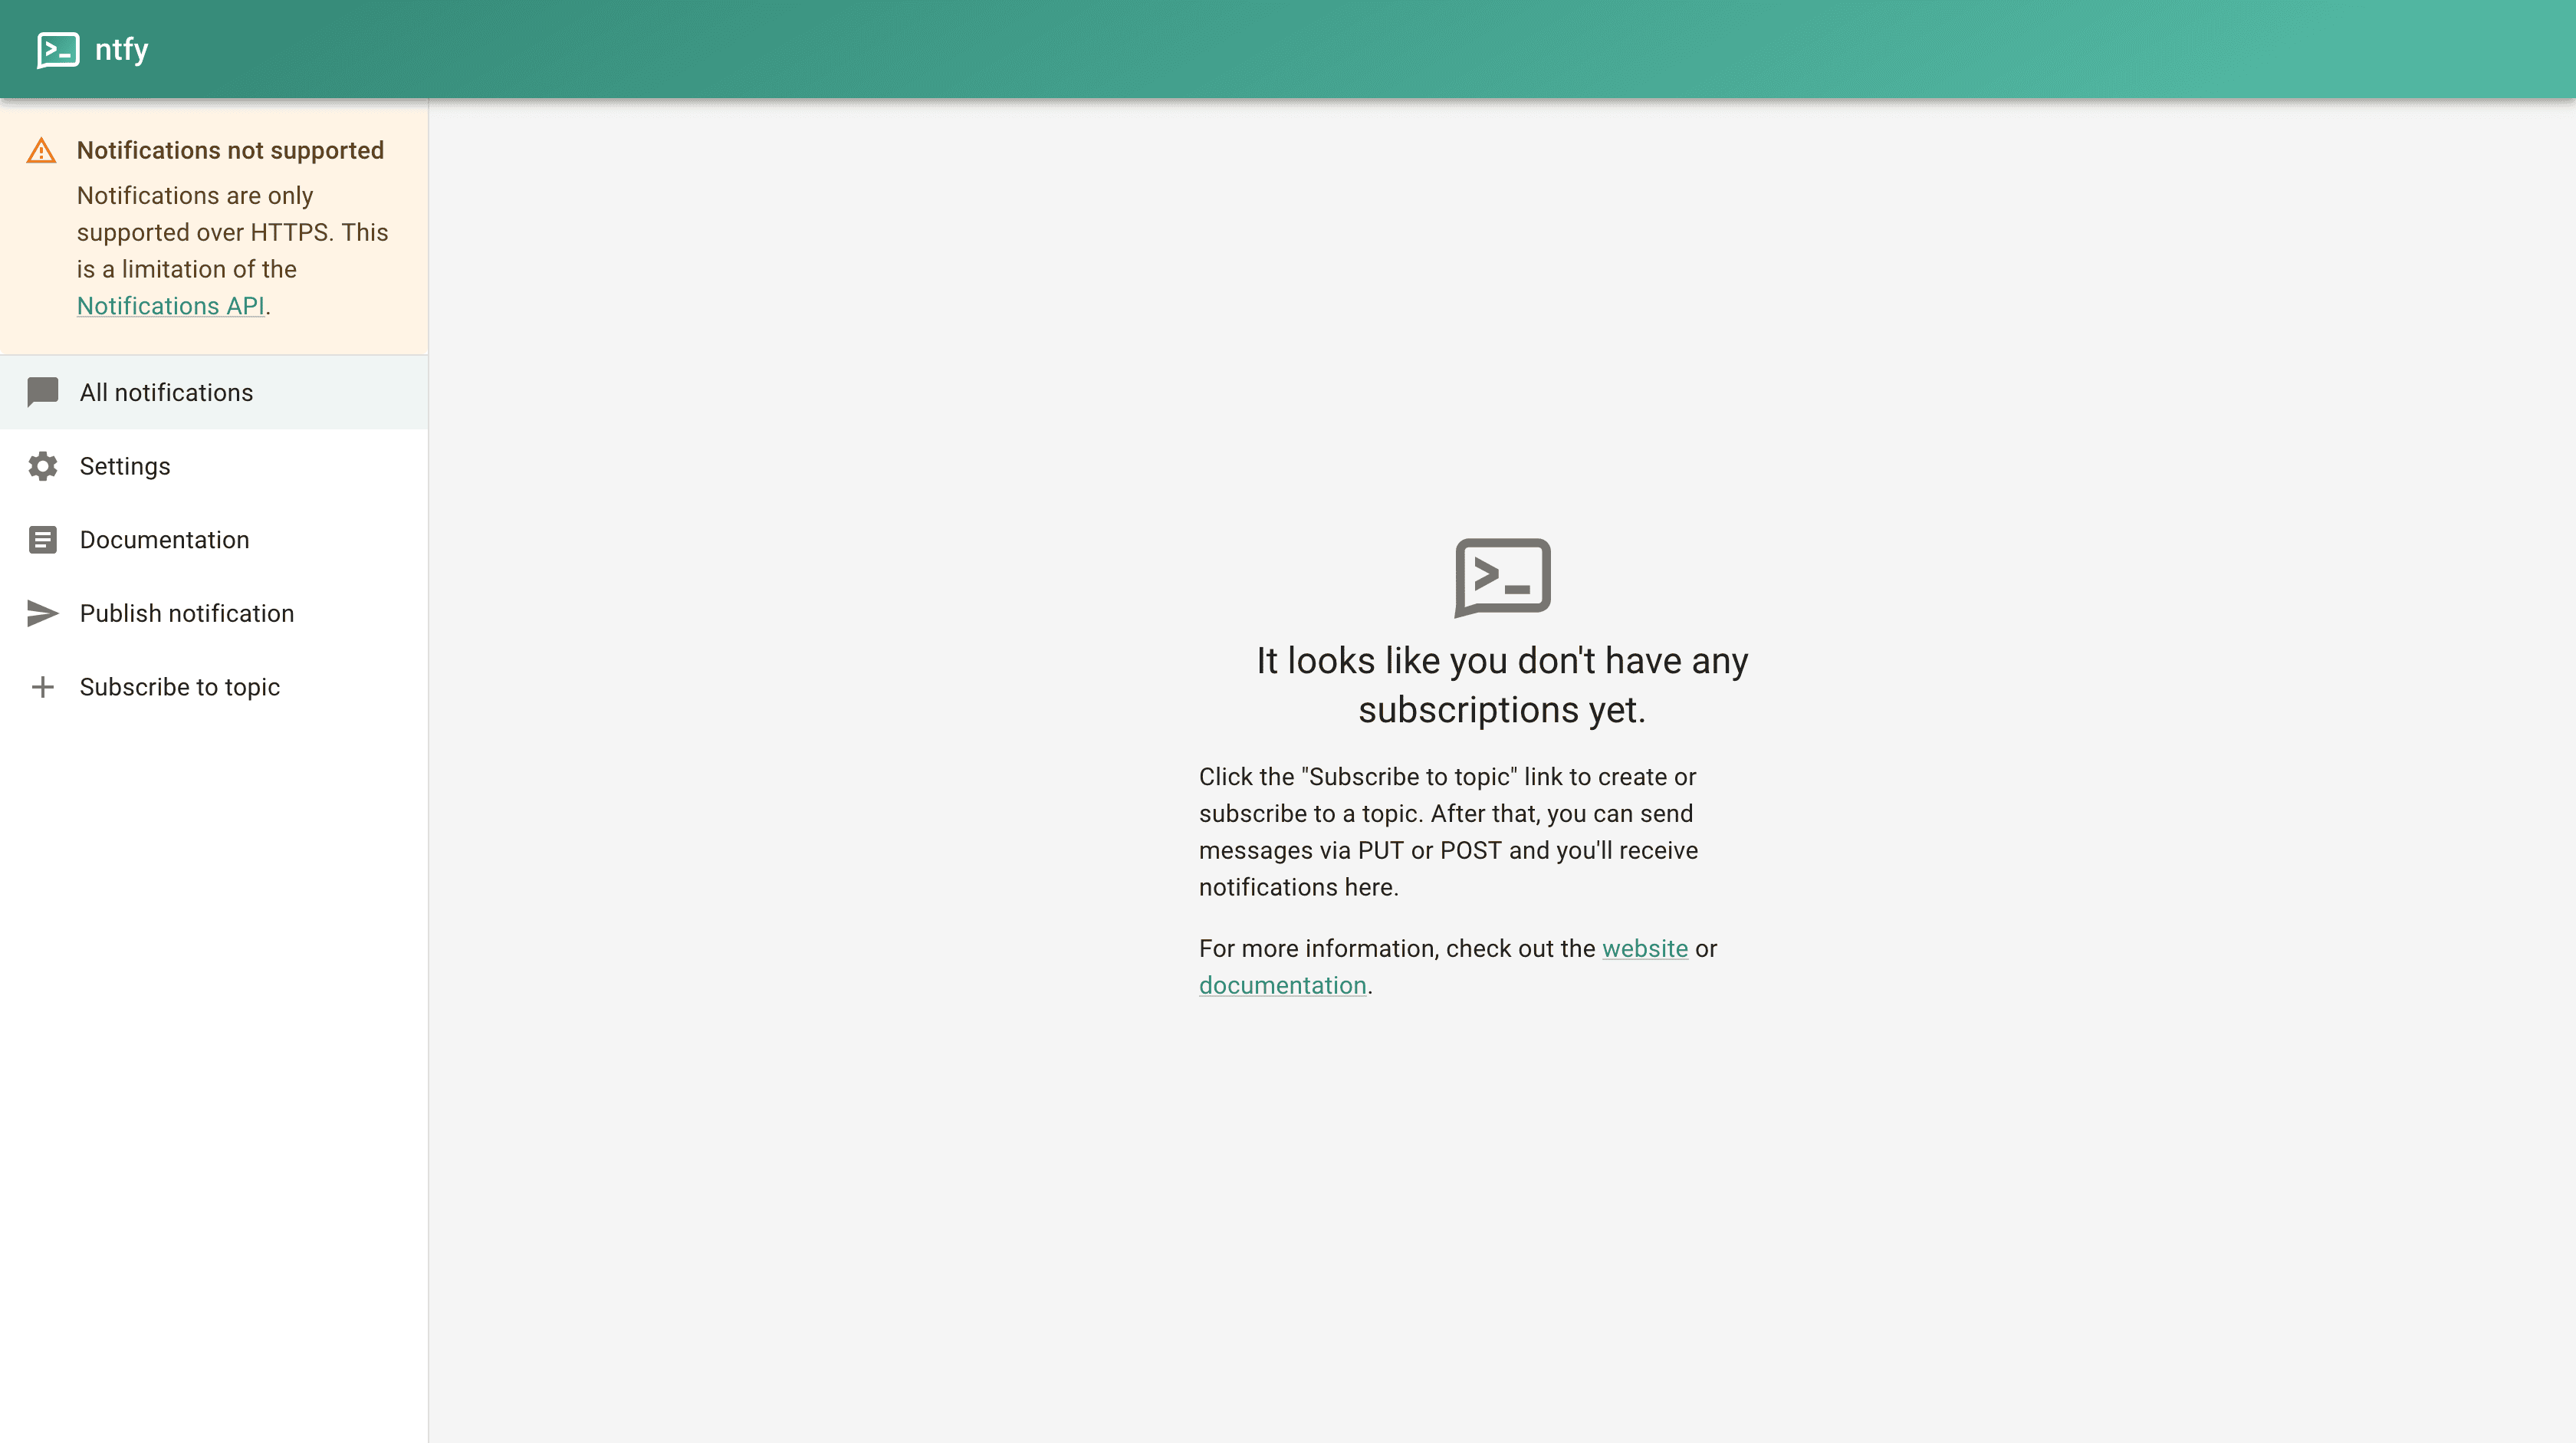
ntfy requires HTTPS for security reasons. We’ll address this by using Caddy as a reverse proxy.
Hosting ntfy with Caddy
Docker Compose Configuration
networks:
  caddy_net:
    external: true
    name: "caddy_net"

services:
  ntfy:
    image: "binwiederhier/ntfy:latest"
    container_name: "ntfy"
    command: ["serve"]
    networks:
      - "caddy_net"
    ports:
      - "8080:80/tcp"
    restart: "unless-stopped"
    user: "1000:1000"
    volumes:
      - "./config:/etc/ntfy"
      - "./cache:/var/cache/ntfy"
      - "./lib:/var/lib/ntfy"
      - "/etc/timezone:/etc/timezone:ro"
      - "/etc/localtime:/etc/localtime:ro"
Caddy Configuration
Add this to your Caddyfile:
ntfy.your-domain {
    reverse_proxy ntfy:80
}
caddy_net. Use 8080 for local testing only.Mobile Setup
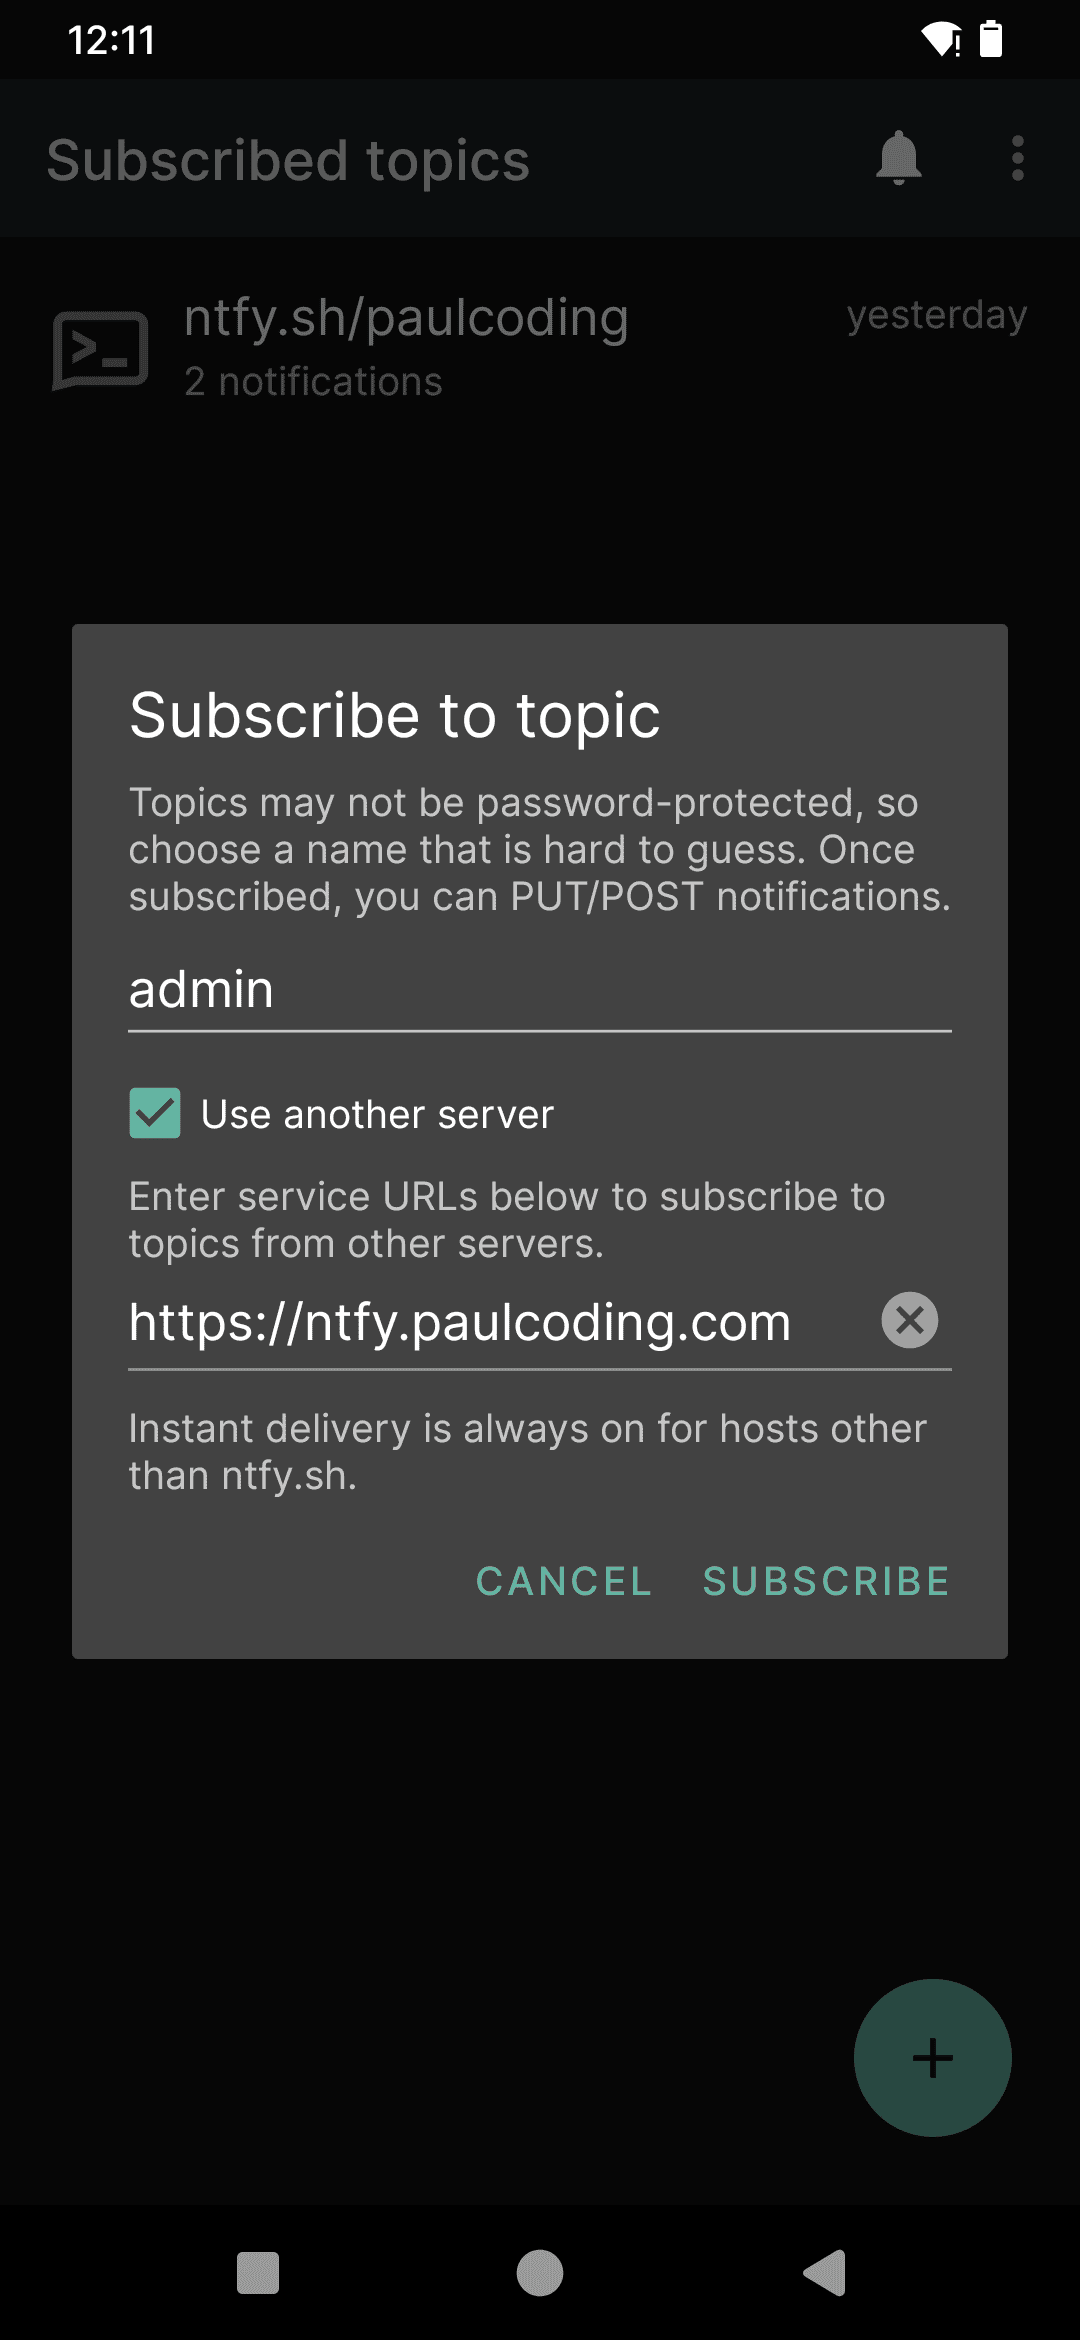
Subscribe to a topic:
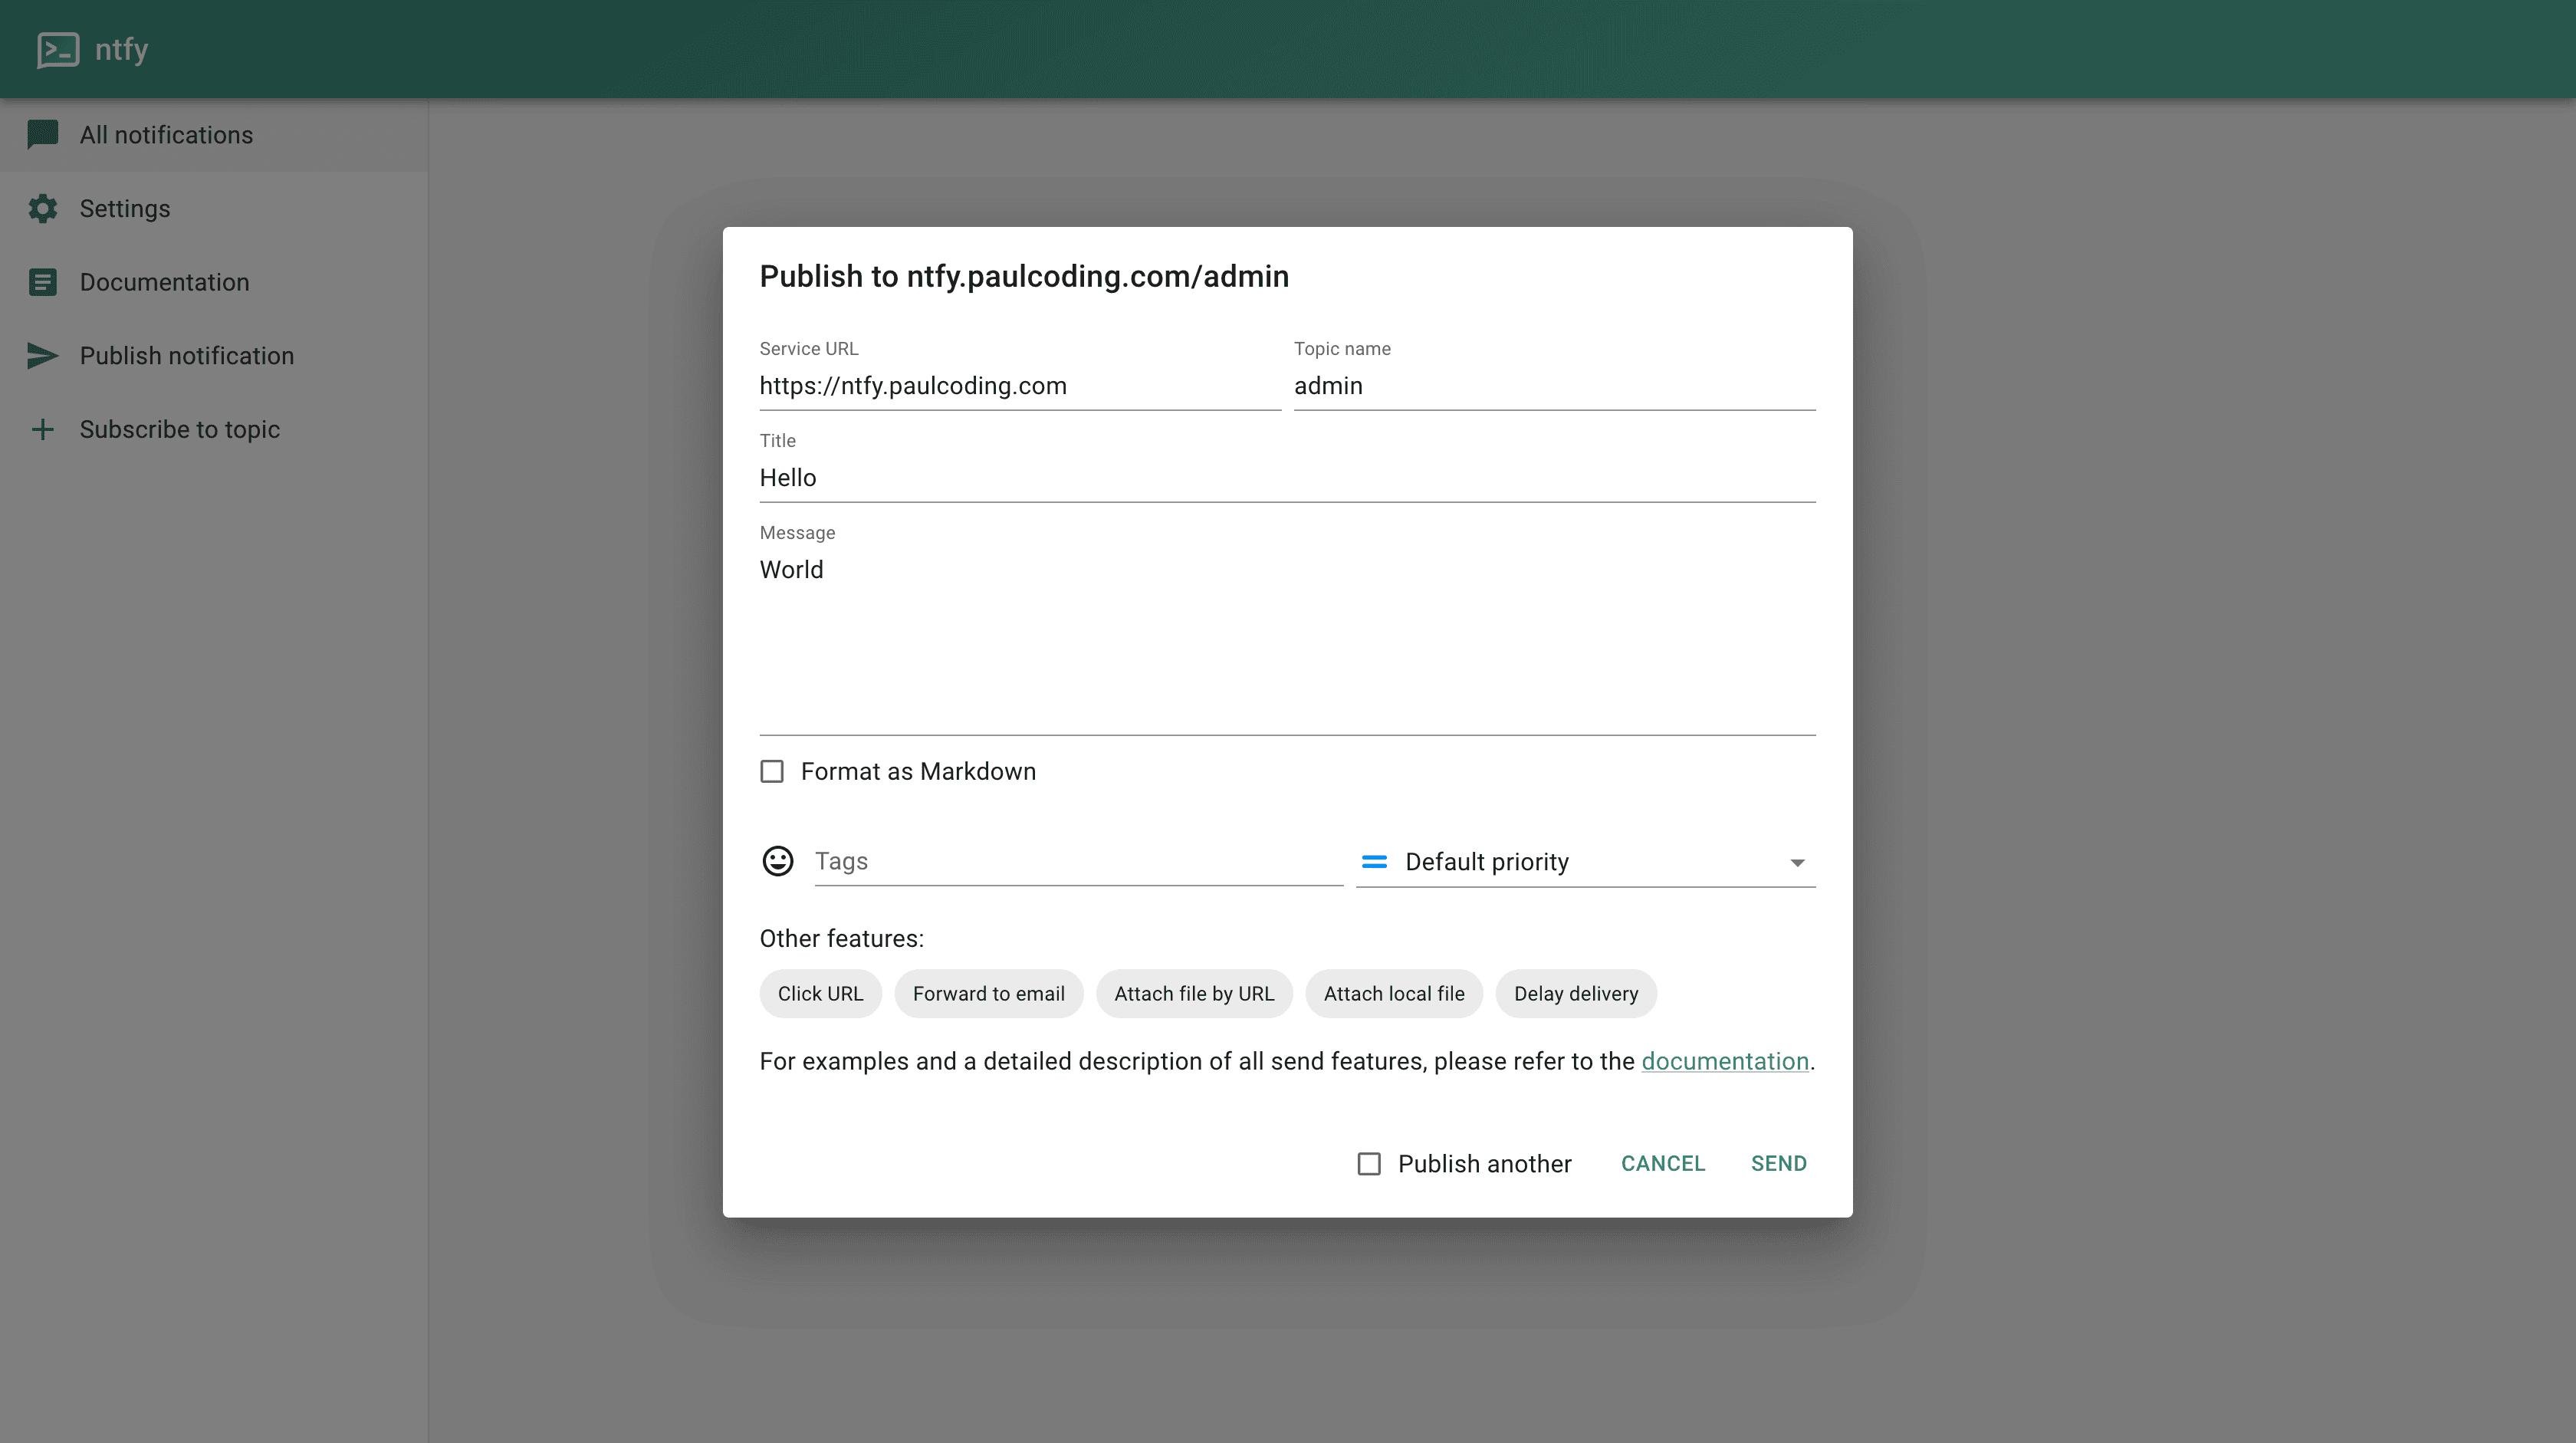
Test the notification by
curl:curl -d "Hello World" ntfy.yourdomain.com/adminOr Push notification via ntfy dashboard:
Mobile notification result:

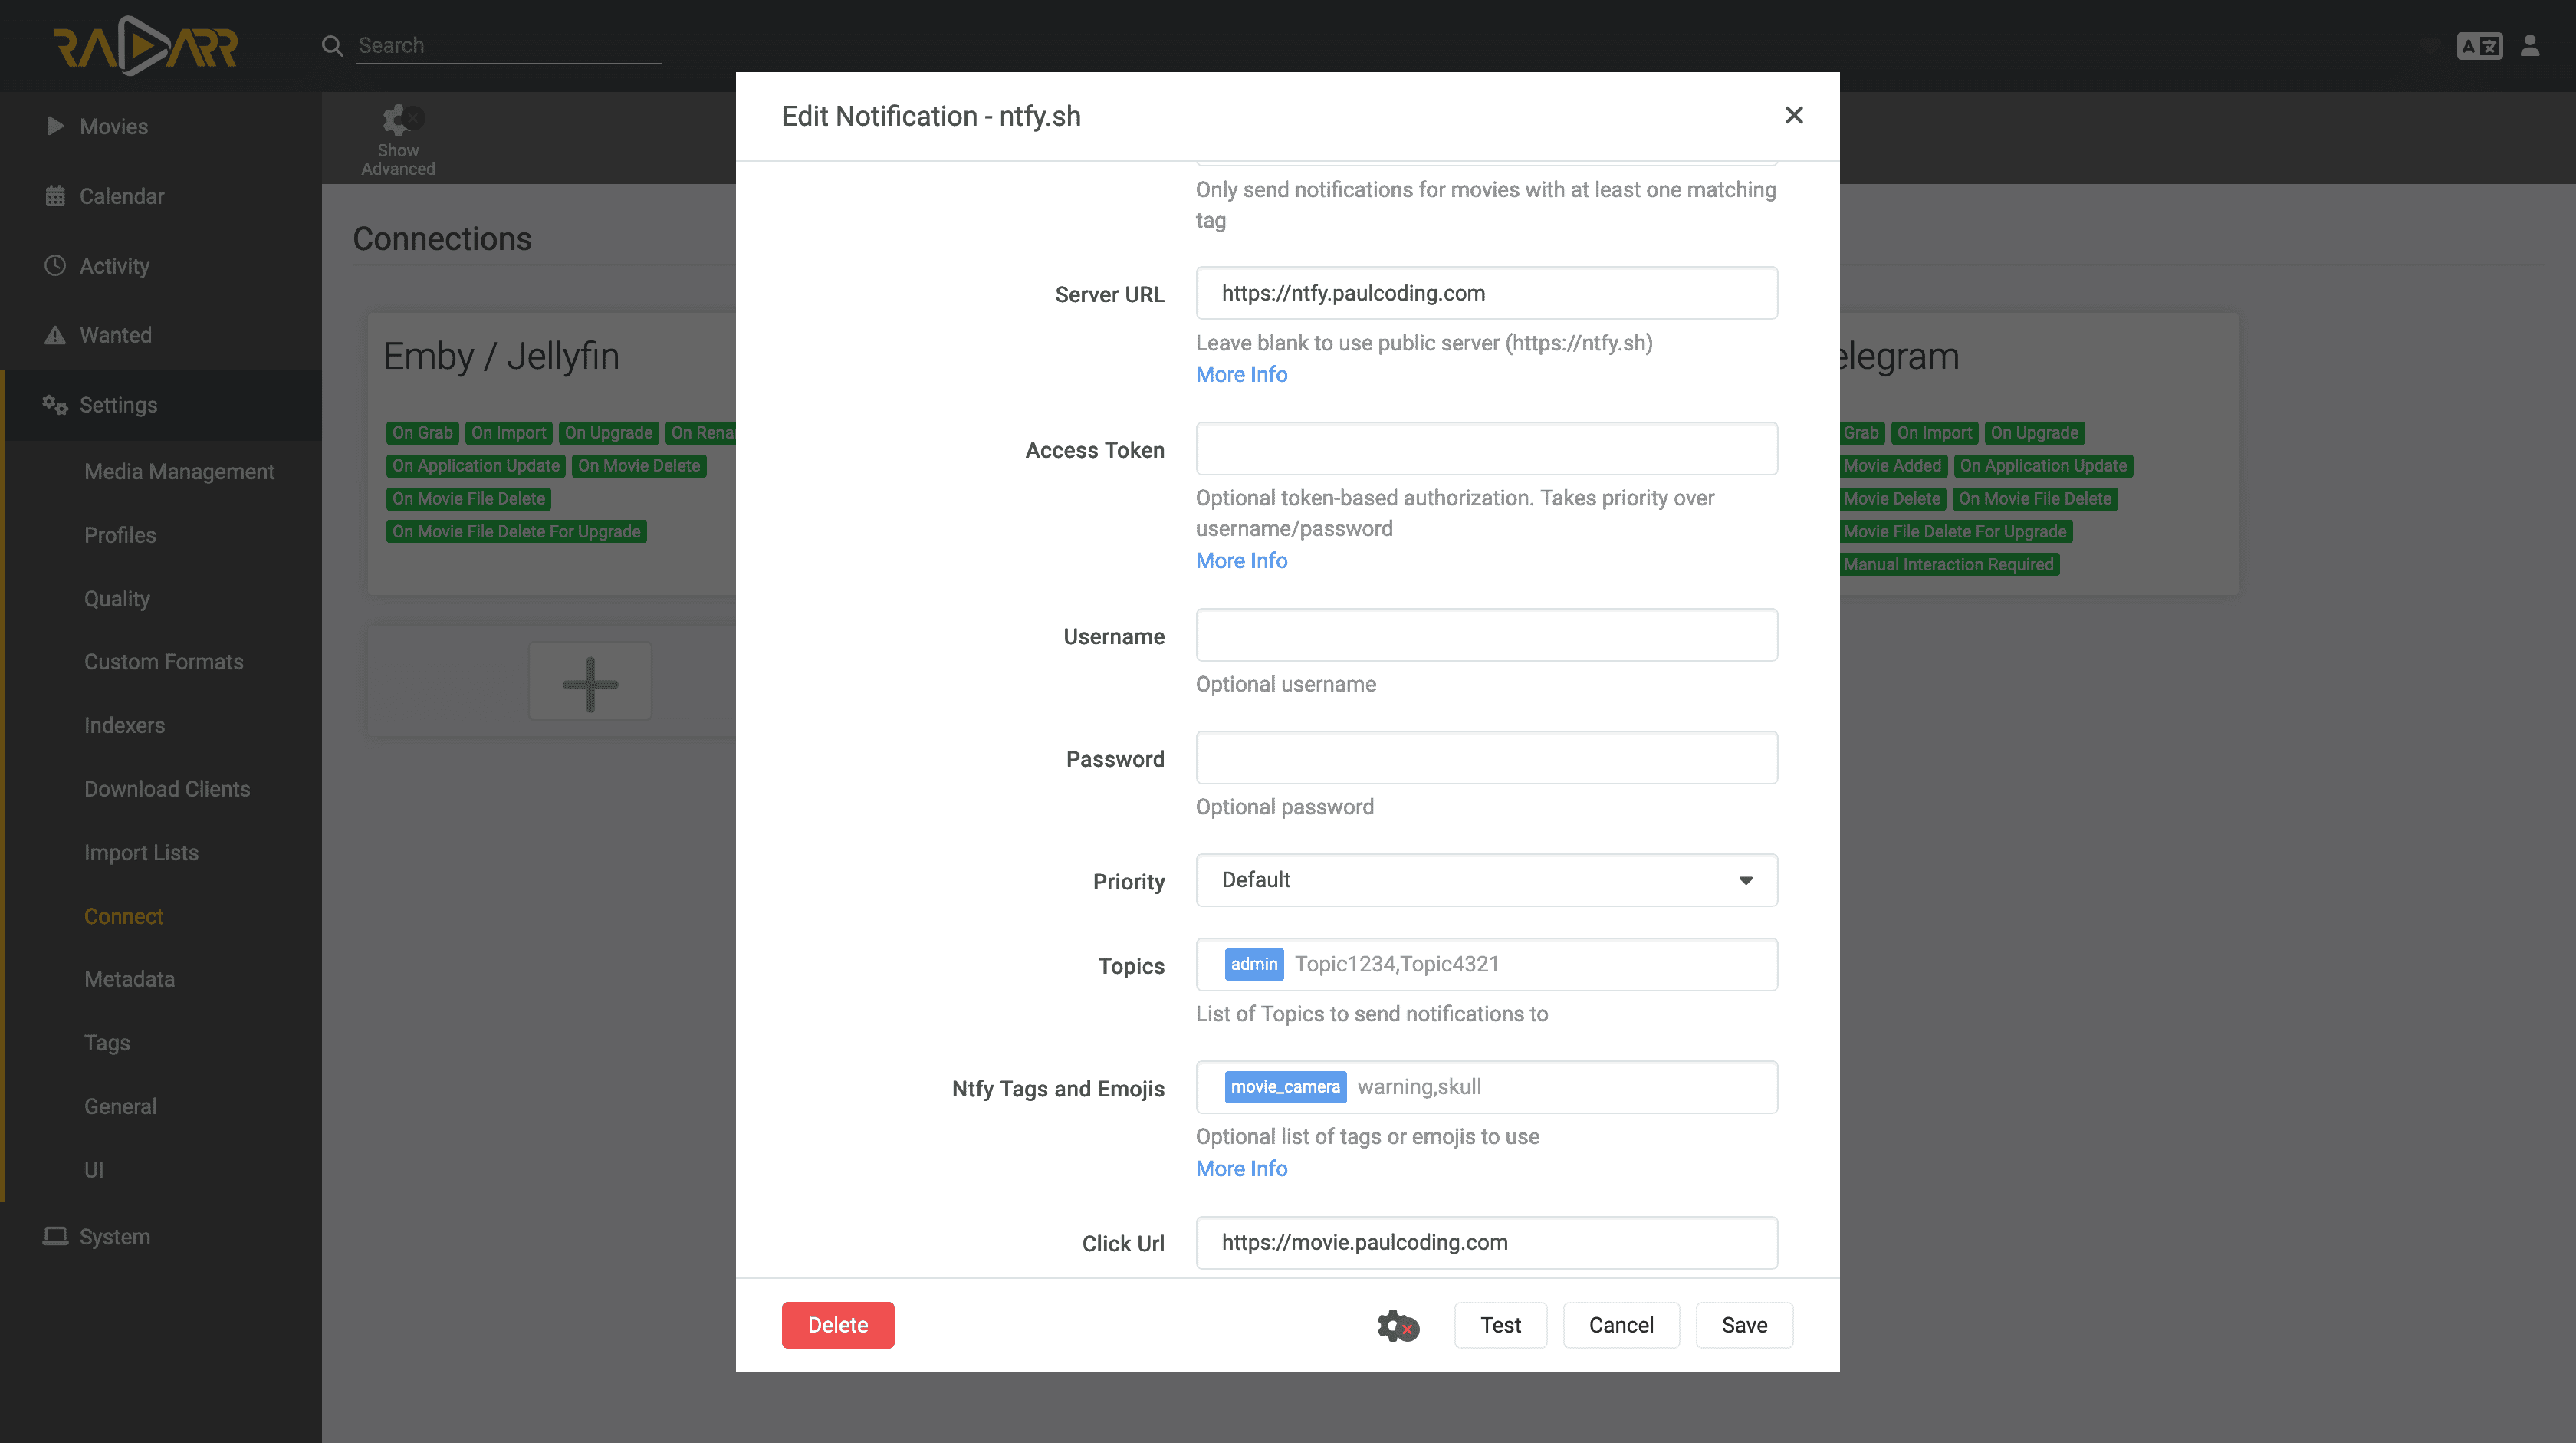
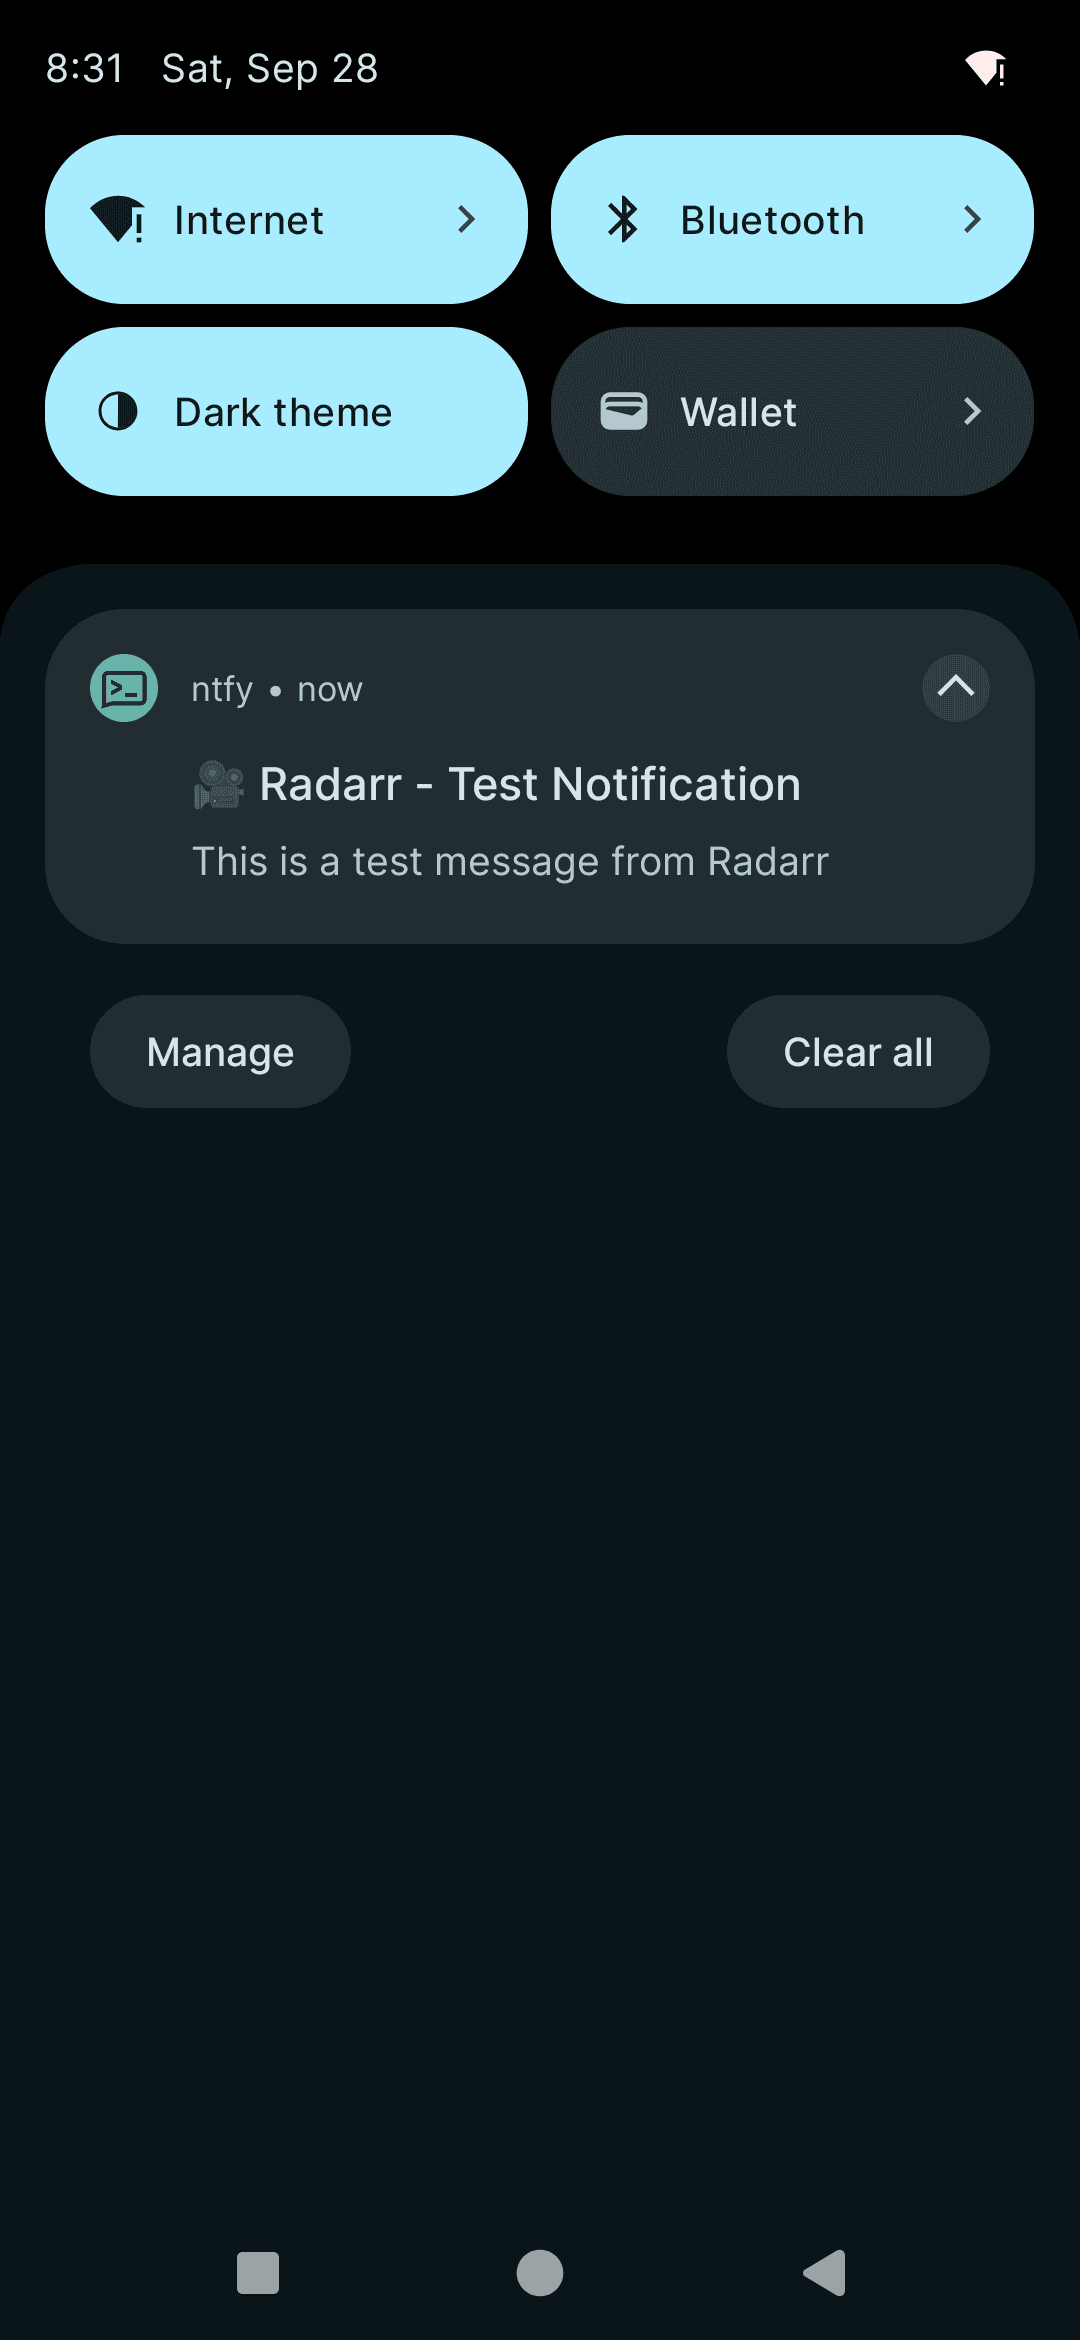
Integration Example: Radarr
Configure Radarr to use ntfy:
Radarr notification result:
Auth
To enable authentication for your ntfy instance, follow these steps:
Update Docker Compose File
Add the following environment variables to your docker-compose.yml file under the ntfy service:
  environment:
    NTFY_BASE_URL: https://ntfy.paulcoding.com
    NTFY_CACHE_FILE: /var/lib/ntfy/cache.db
    NTFY_AUTH_FILE: /var/lib/ntfy/auth.db
    NTFY_AUTH_DEFAULT_ACCESS: deny-all
    NTFY_BEHIND_PROXY: true
    NTFY_ATTACHMENT_CACHE_DIR: /var/lib/ntfy/attachments
    NTFY_ENABLE_LOGIN: true
  volumes:
    - "./config:/etc/ntfy"
    - "./cache:/var/cache/ntfy"
    - "./lib:/var/lib/ntfy"
Create a User
Access the ntfy container shell:
docker exec -it ntfy shAdd a new user with admin privileges:
ntfy user add --role=admin paulGenerate a token for the user:
ntfy token add paul
For more details, refer to the ntfy documentation.
Sending Notifications with curl
You can publish messages to ntfy topics using curl. Below are examples for authenticated requests.
1. Using a Bearer Token
After generating a token for your user (tk_xxx), send a notification like this:
curl \
  -H "Authorization: Bearer <your_token>" \
  -d "Your message here" \
  "https://ntfy.paulcoding.com/<topic>"
Replace <your_token> with your actual token and <topic> with your topic name.
2. Using Basic Auth via Query Parameter
You can also authenticate by passing a base64-encoded username:password as a query parameter:
# Encode your credentials
echo -n "Basic `echo -n 'username:password' | base64`" | base64 | tr -d '='
Then use the encoded string in the auth query parameter:
curl \
  -d "Your message here" \
  "https://ntfy.paulcoding.com/<topic>?auth=<base64-credentials>"
Refer to the ntfy documentation for more details.
Conclusion
By self-hosting ntfy, you can have a secure, private notification system for various services. This setup using Docker and Caddy ensures HTTPS support and easy integration with other self-hosted applications.