Introduction
Caddy is a powerful, enterprise-ready, open source web server with automatic HTTPS written in Go. It’s known for its simplicity and ease of use, making it an excellent choice for hosting SaaS applications. This guide will walk you through setting up a secure hosting environment for your services using Caddy as a reverse proxy.
Key benefits of using Caddy include:
- Automatic HTTPS with Let’s Encrypt
- Easy configuration with the Caddyfile
- Built-in support for various plugins
- High performance and security
This post will cover:
- Setting up Caddy with Docker
- Configuring services to work with Caddy
- Testing and troubleshooting your setup
Prerequisites
Before we begin, ensure you have:
- Basic understanding of Docker and Docker Compose
- A domain name
- Cloudflare account for DNS management
- Docker and Docker Compose installed on your host machine
- Basic command-line knowledge
1. Setting up Caddy with Docker
Let’s set up Caddy as our reverse proxy using Docker.
Docker Compose Configuration
Create a new docker-compose.yml file for Caddy:
services:
  caddy:
    build: ./dockerfile-caddy
    container_name: caddy
    hostname: caddy
    restart: unless-stopped
    env_file: .env
    ports:
      - "80:80"
      - "443:443"
      - "443:443/udp"
    volumes:
      - ./Caddyfile:/etc/caddy/Caddyfile
      - ./caddy_config:/config
      - ./caddy_data:/data

networks:
  default:
    name: $DOCKER_MY_NETWORK
    external: true
This configuration sets up Caddy with the necessary port mappings and volume mounts.
Dockerfile for Caddy
Create a ./dockerfile-caddy/Dockerfile with:
FROM caddy:2.8.4-builder AS builder

RUN xcaddy build \
    # ssl things
    --with github.com/caddy-dns/cloudflare \
    # ddns things
    --with github.com/mholt/caddy-dynamicdns

FROM caddy:2.8.4

COPY --from=builder /usr/bin/caddy /usr/bin/caddy
This Dockerfile builds Caddy with additional plugins for Cloudflare DNS and Dynamic DNS support.
Environment Variables
Create a .env file:
TZ=Asia/Ho_Chi_Minh
DOCKER_MY_NETWORK=caddy_net
MY_DOMAIN=paulcoding.com
CLOUDFLARE_API_TOKEN=your-cf-token-here
Adjust these variables according to your setup.
Caddy Configuration
Create a Caddyfile:
(LAN_only) {
    @fuck_off_world {
        not remote_ip 192.168.1.0/24
    }
    respond @fuck_off_world "NOT FUCKING FOUND" 403
}

{
  # ssl shit
  acme_dns cloudflare {$CLOUDFLARE_API_TOKEN}
  # ddns shit
  dynamic_dns {
    provider cloudflare {$CLOUDFLARE_API_TOKEN}
    domains {
      paulcoding.com home git download
    }
  }
}

home.{$MY_DOMAIN} {
    reverse_proxy glances:61208
    import LAN_only
}

download.{$MY_DOMAIN} {
    reverse_proxy jdownloader:5800
    import LAN_only
}

speed.{$MY_DOMAIN} {
    reverse_proxy speedtest:8001
}
Explanation of key components:
LAN_only: A snippet that restricts access to local network onlyacme_dns: Configures SSL using Cloudflare DNS challengedynamic_dns: Keeps your domain IP up to date- Service blocks: Define reverse proxy rules for services you’re hosting
You can consider showing some cats for errors instead
handle_errors {
    rewrite * /{http.error.status_code}
    reverse_proxy https://http.cat
}
Deploy Caddy:
docker compose up -d
To reload Caddy’s configuration:
docker exec -w /etc/caddy caddy caddy reload
Check logs for debugging:
docker logs caddy
2. Configuring Services
Ensure all your services are on the same Docker network as Caddy (caddy_net):

Add your services to the same network in their respective Docker Compose files or when running the containers.
3. Testing Your Setup
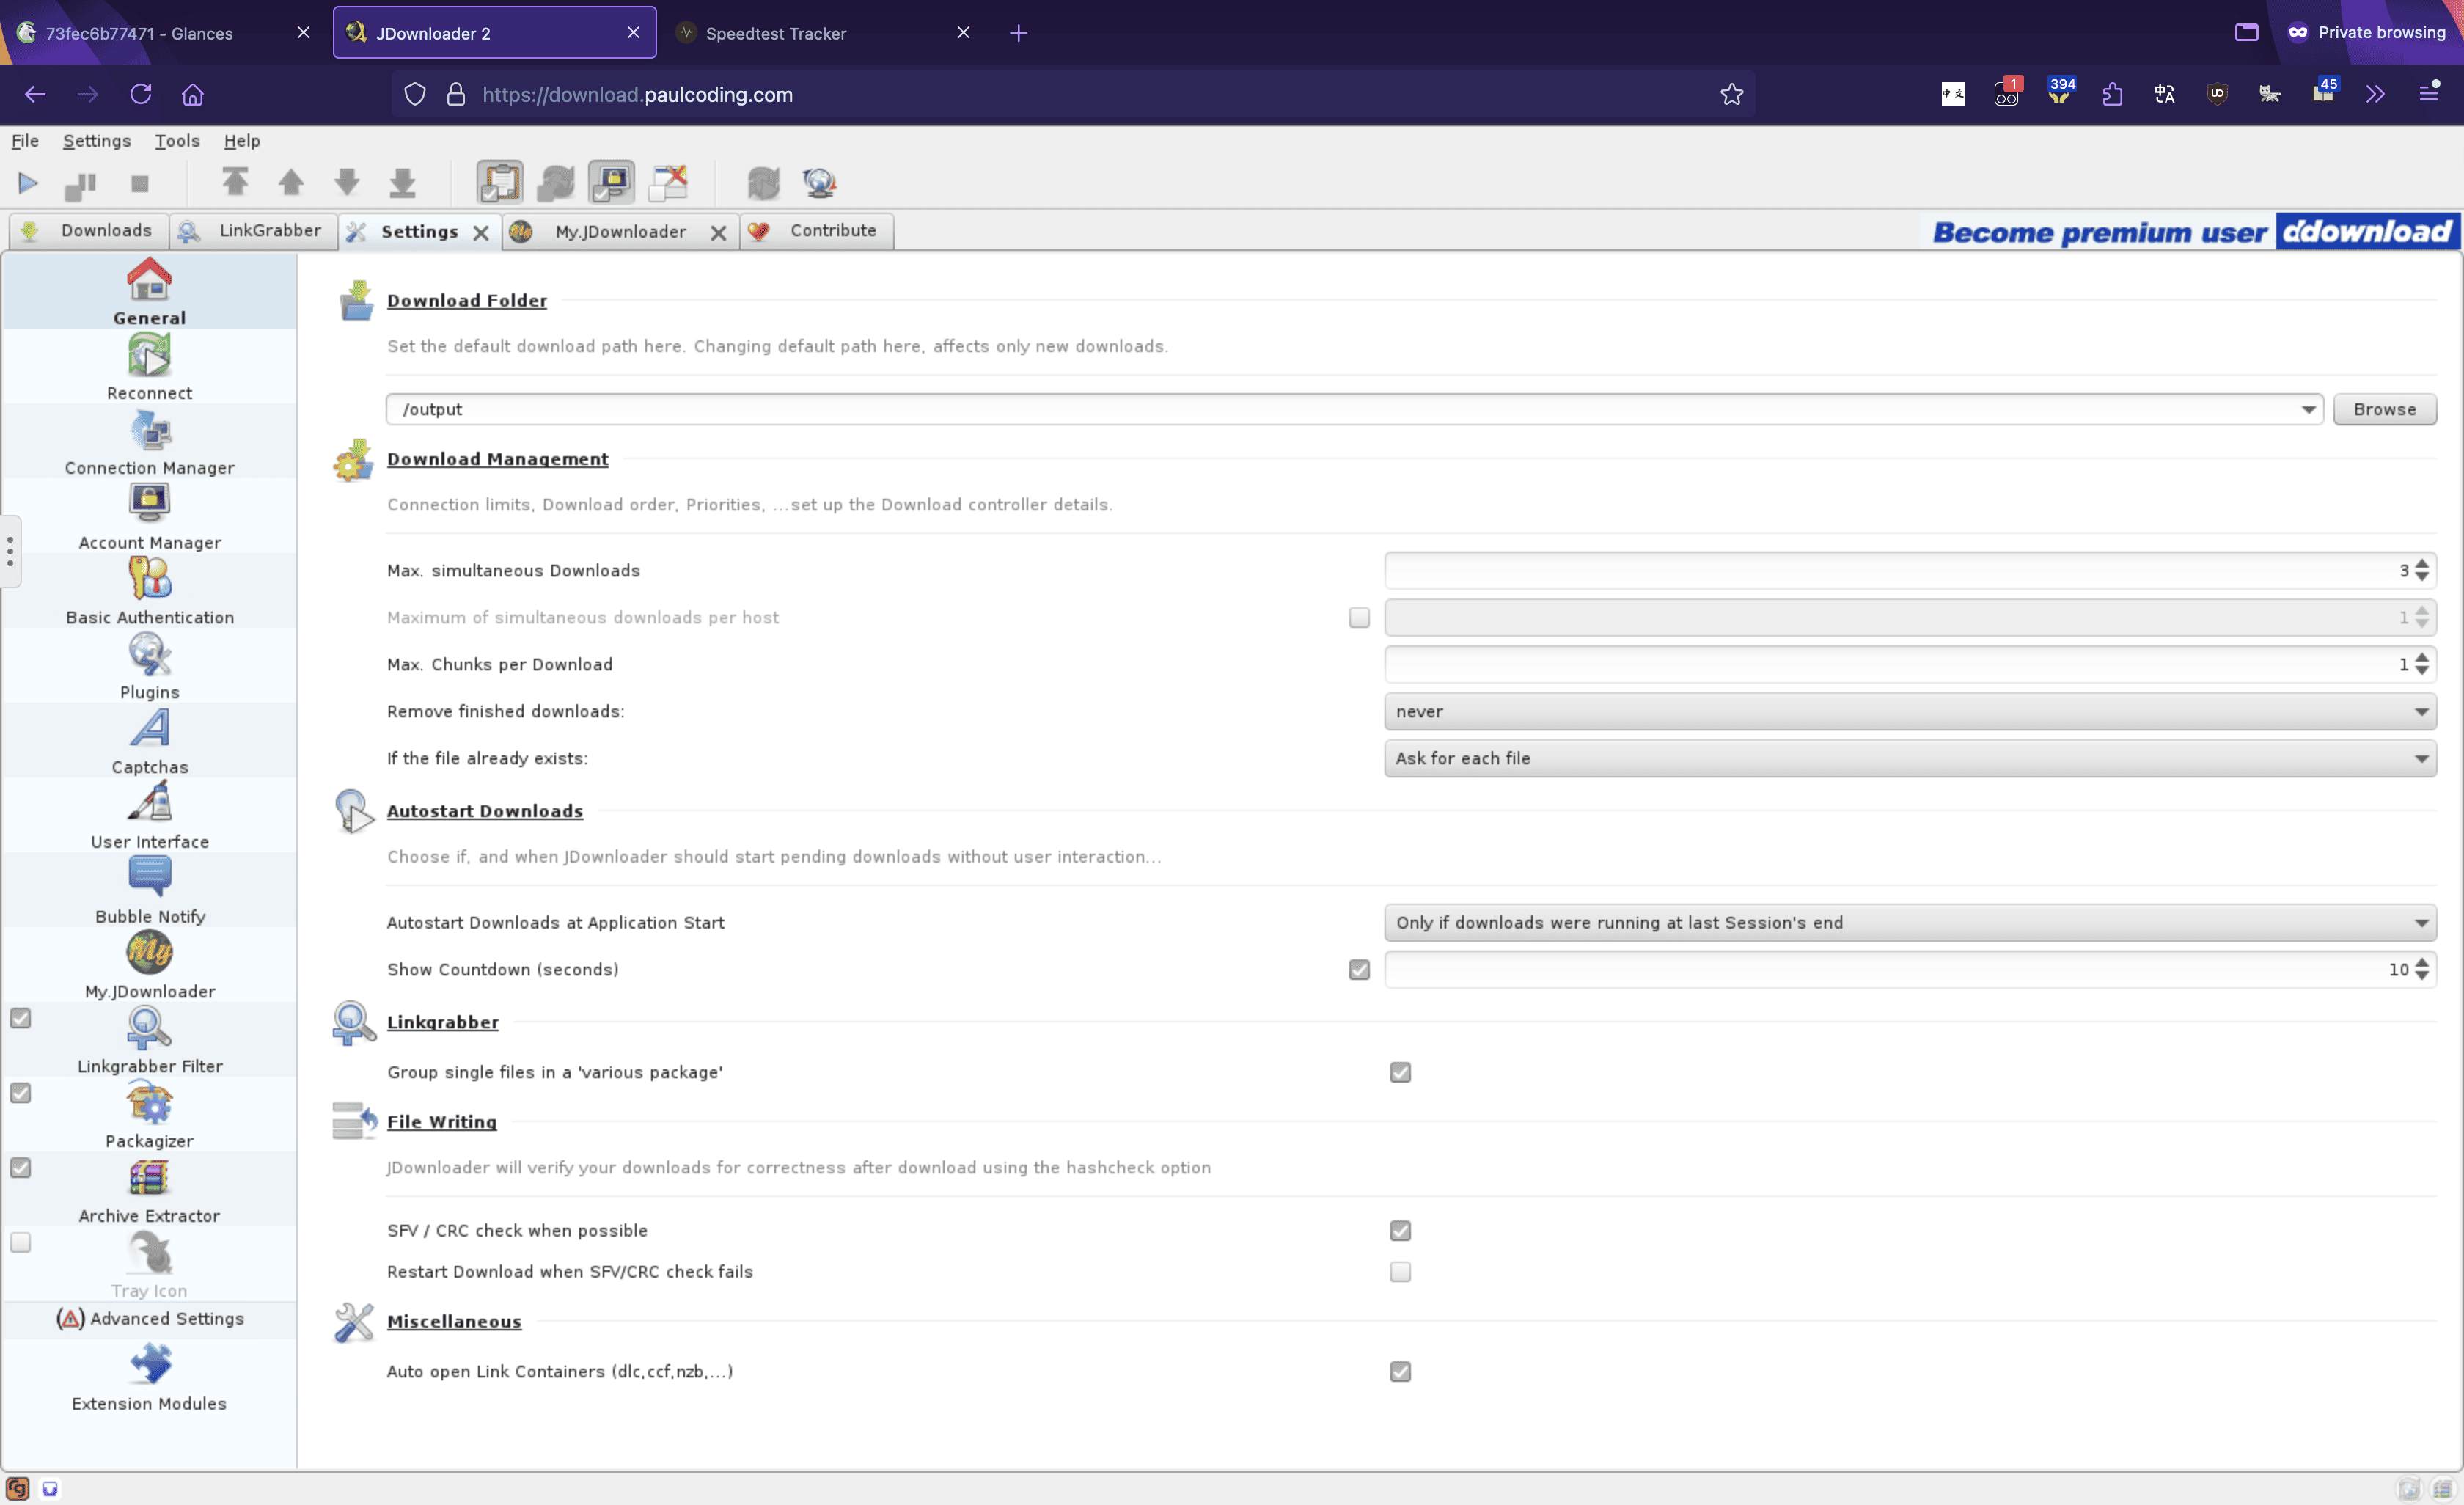
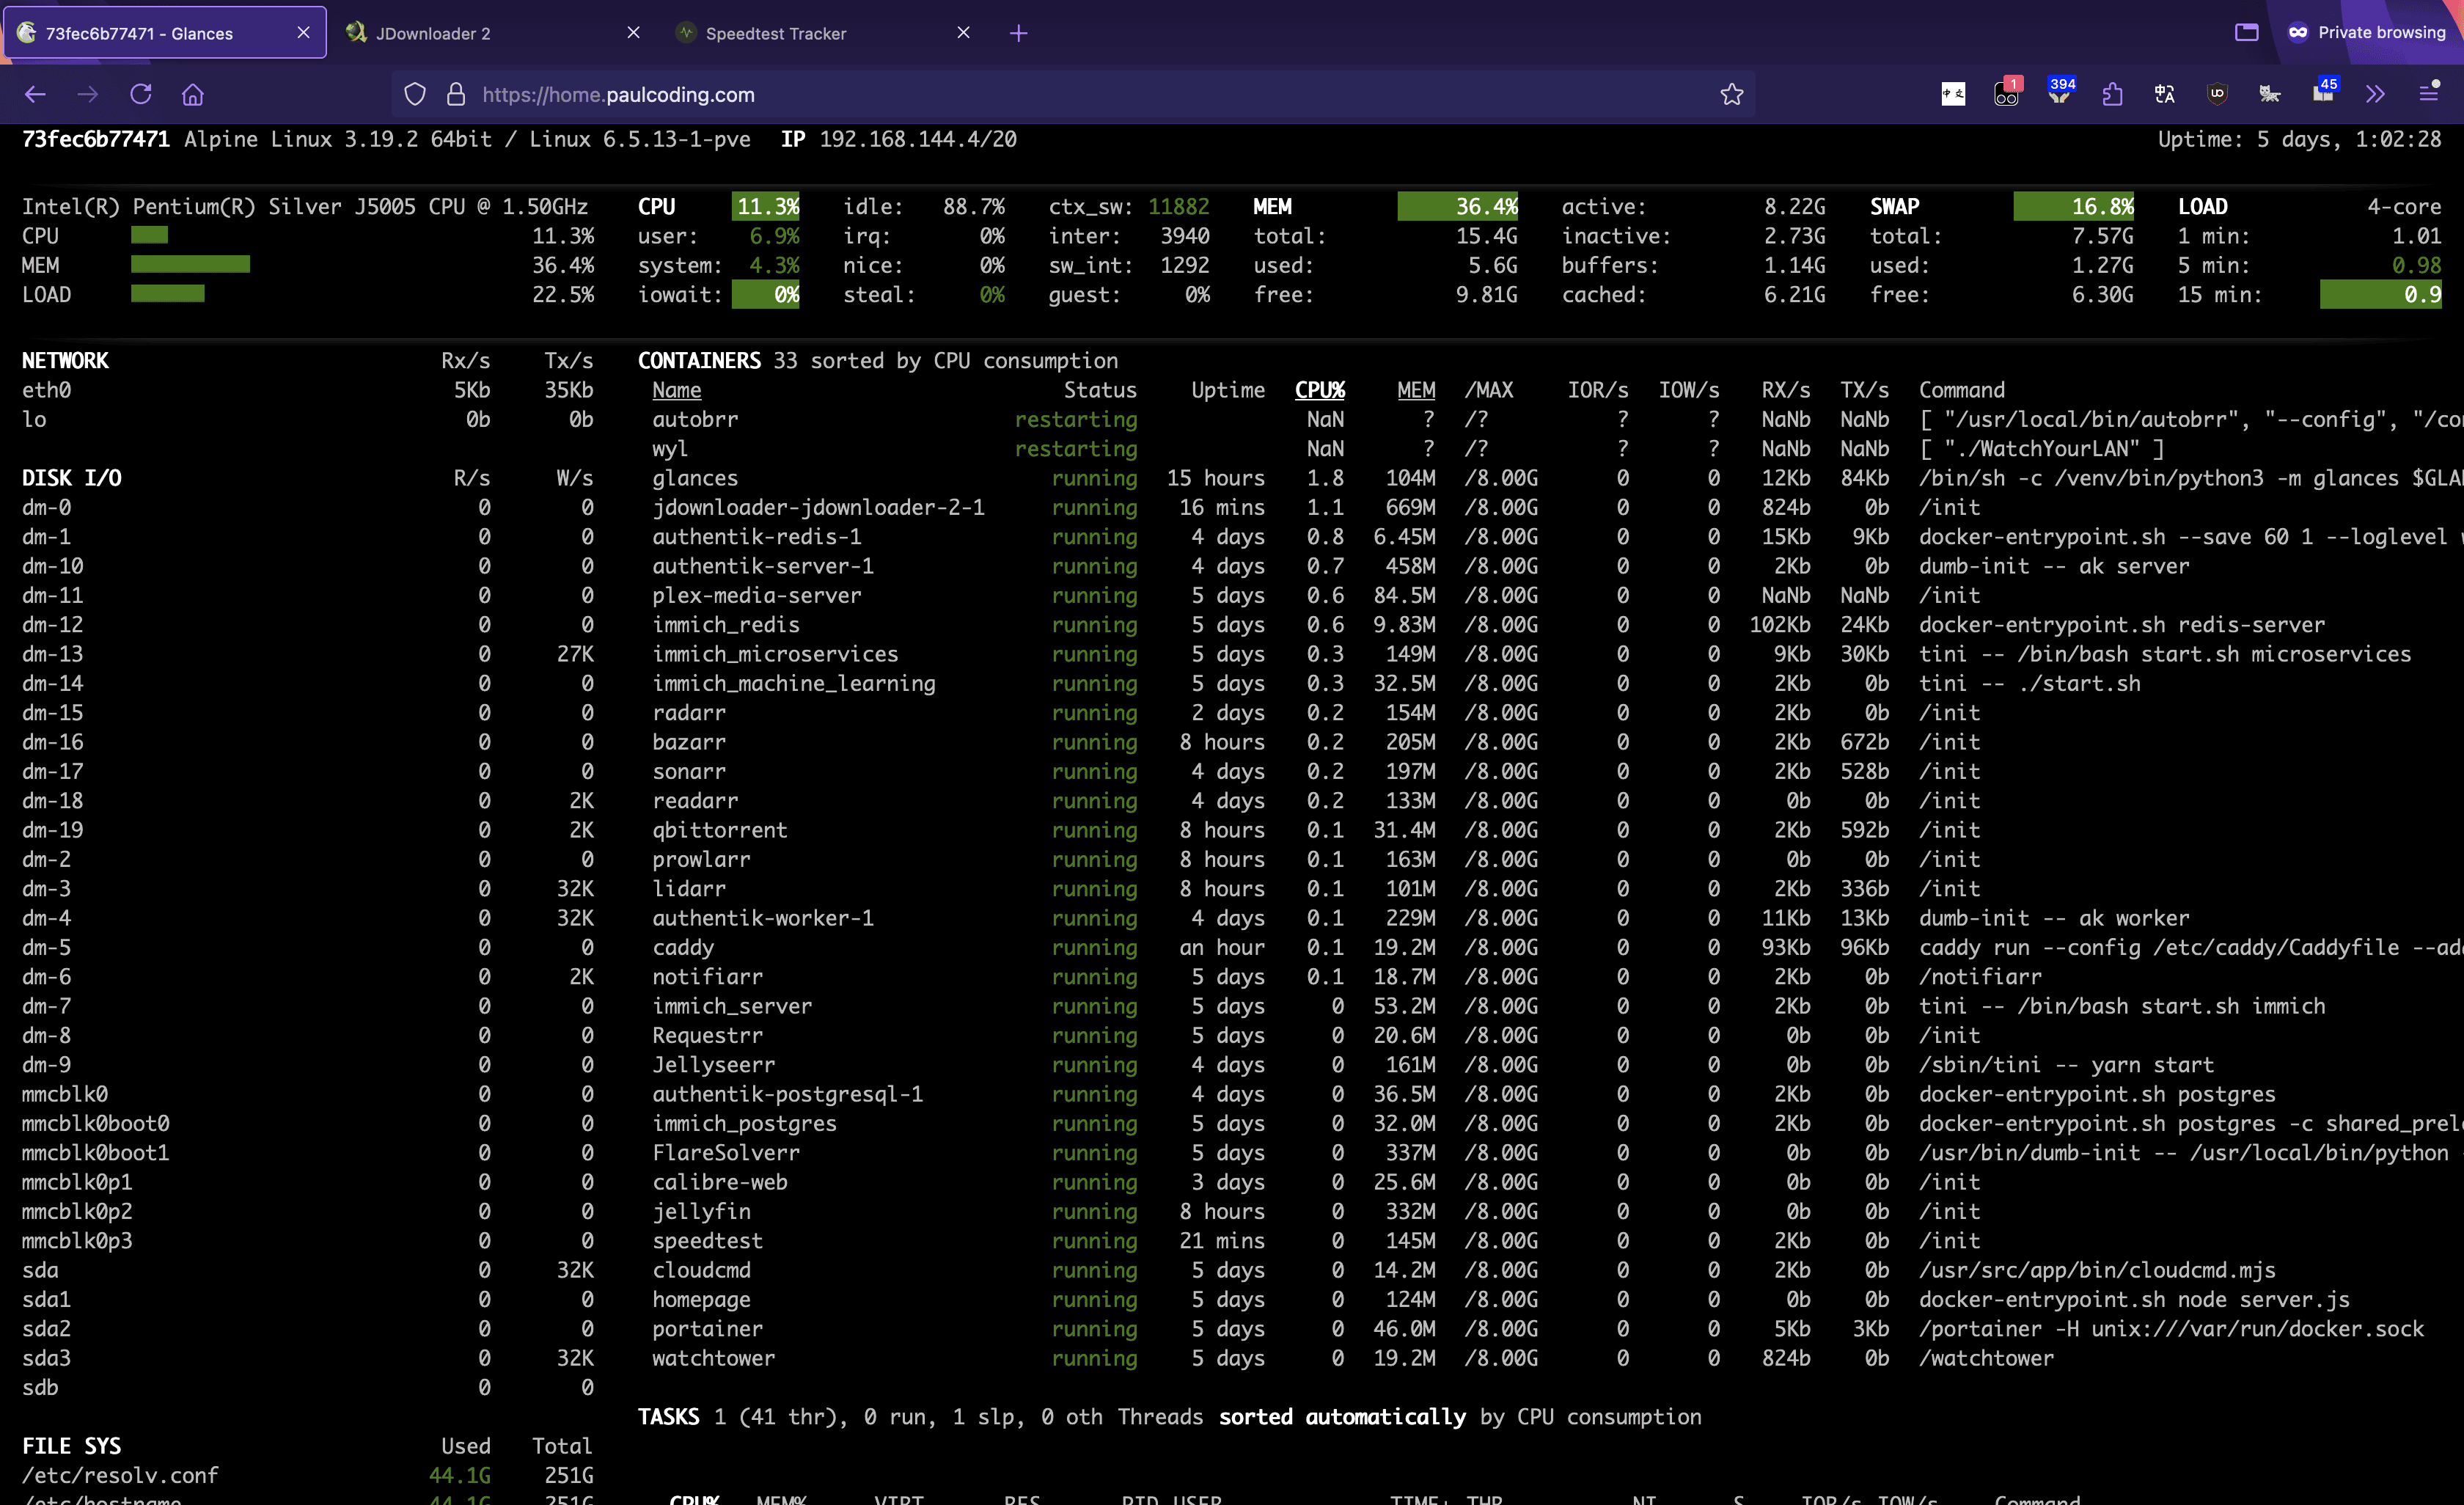
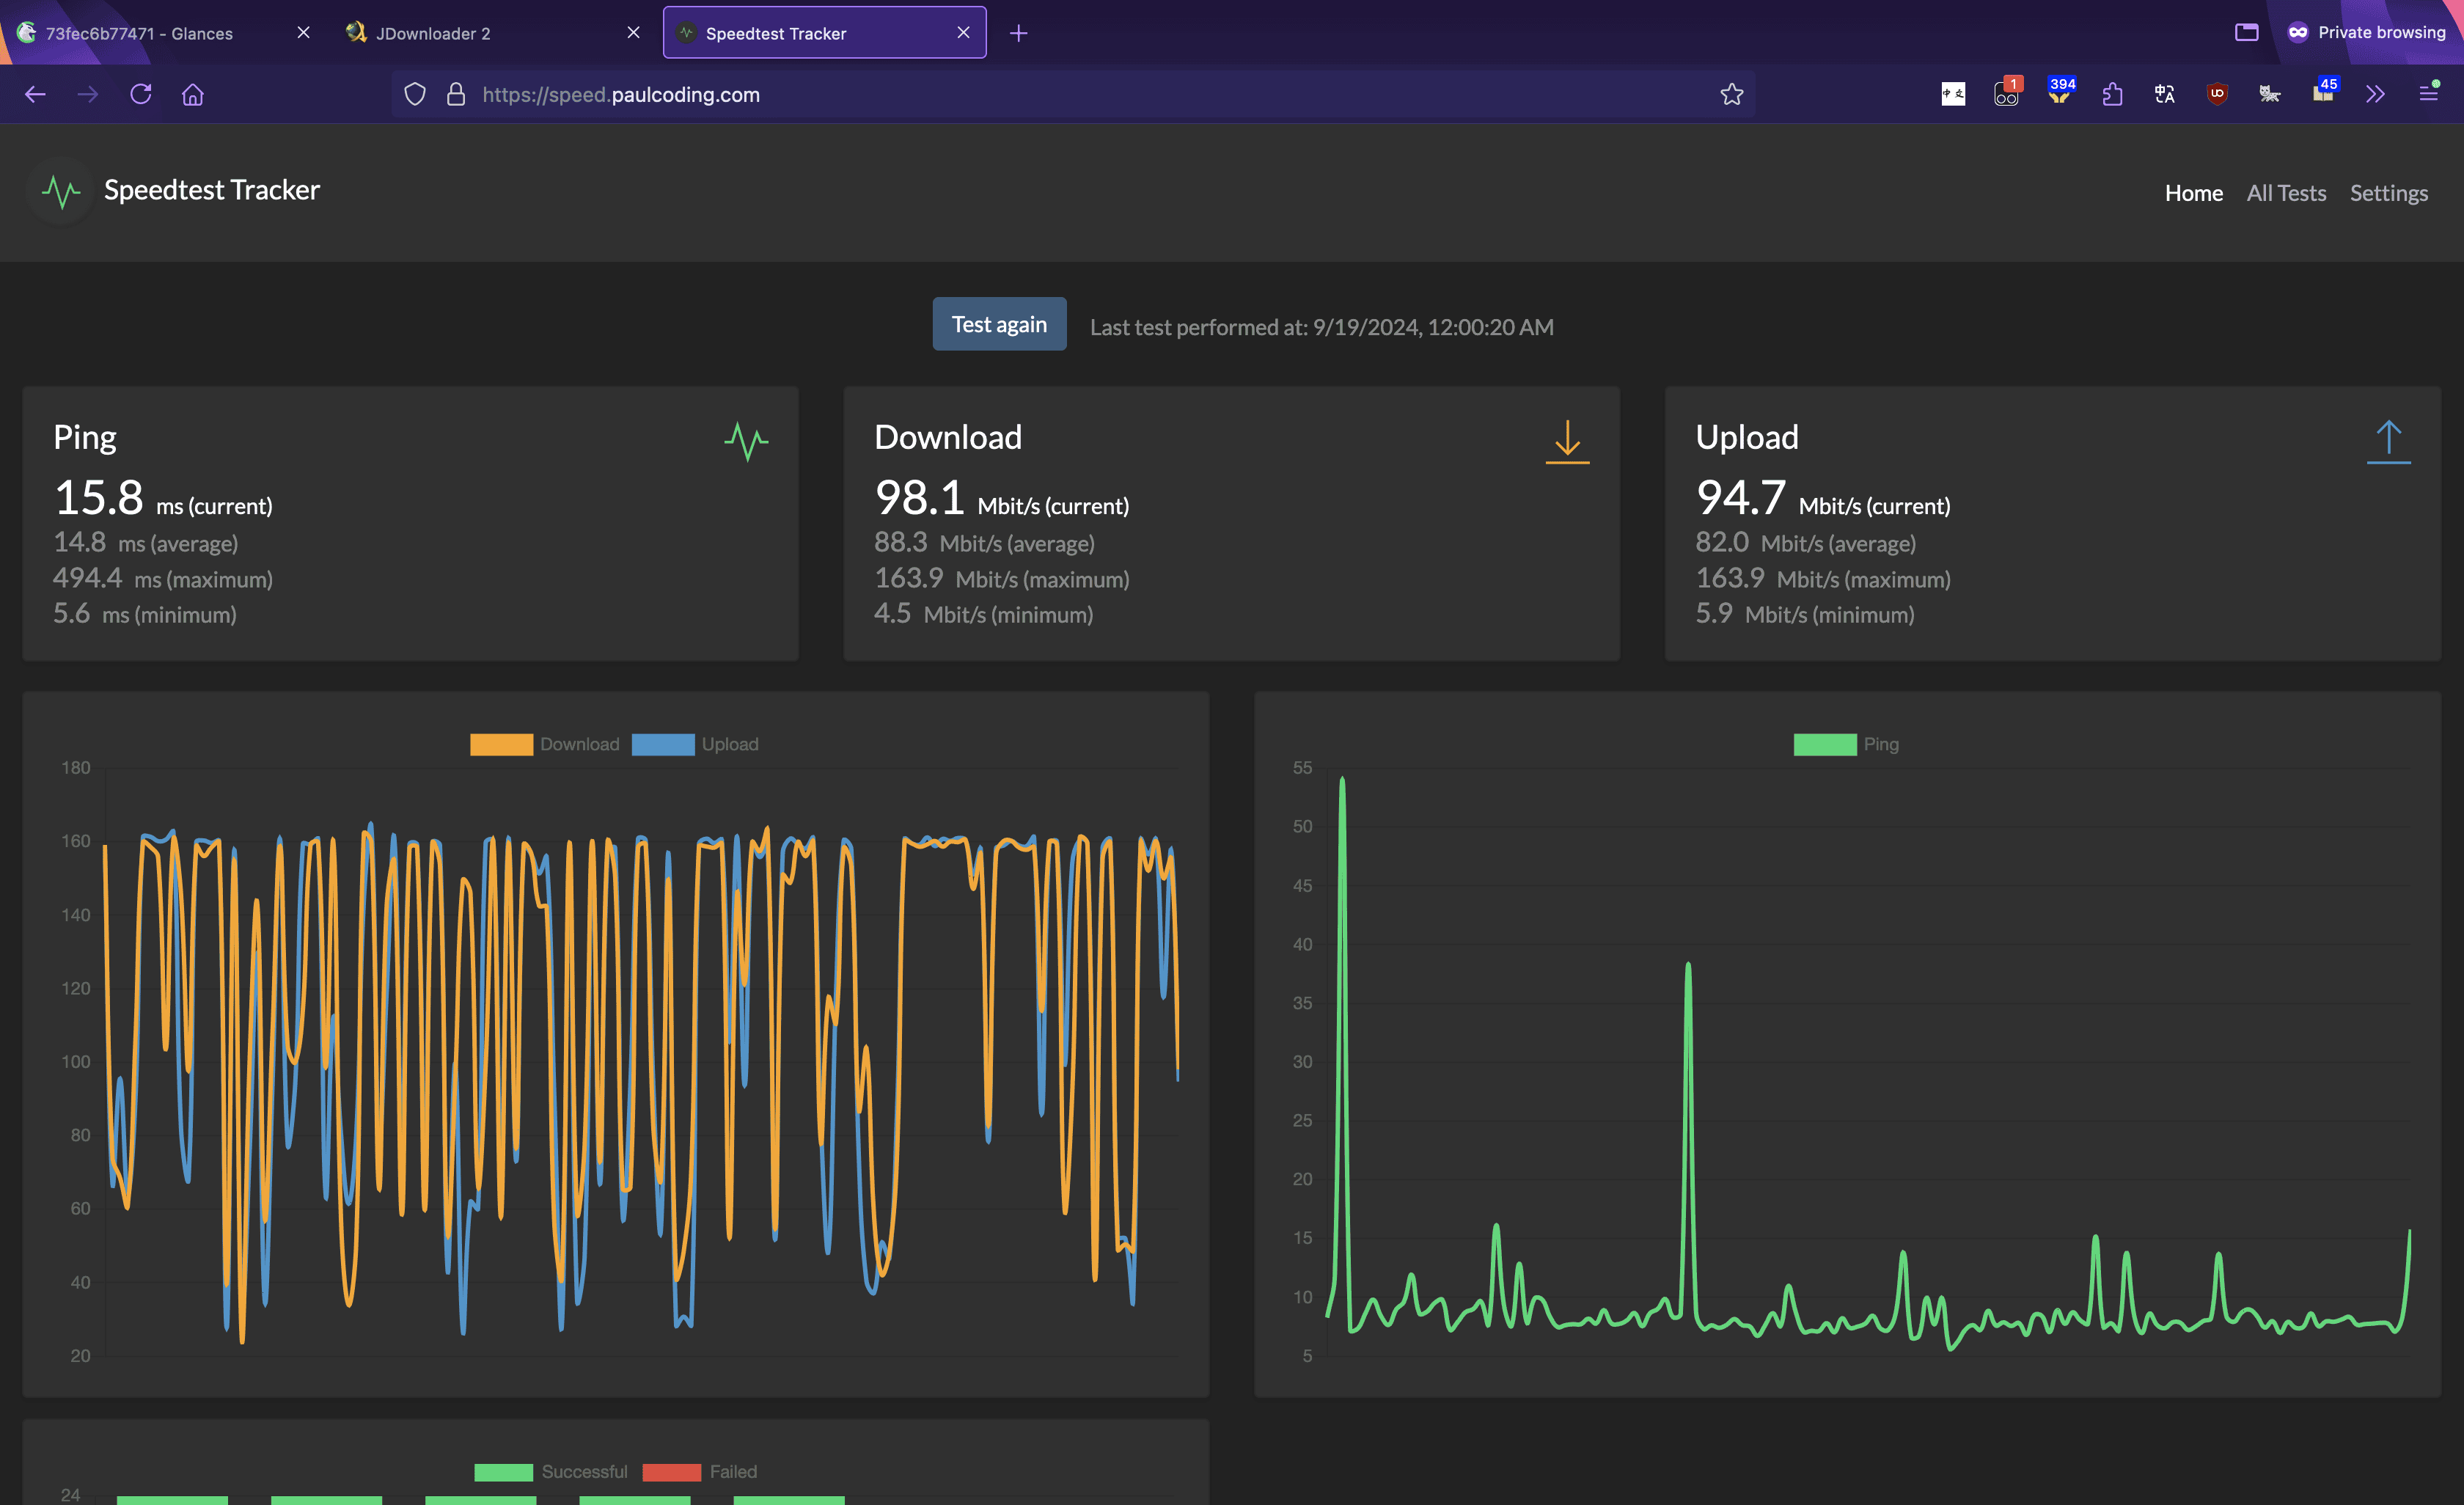
After configuration, you should be able to access your services via their respective subdomains:
| Subdomain | Screenshot |
|---|---|
| download.paulcoding.com |  |
| home.paulcoding.com |  |
| speed.paulcoding.com |  |
If not on the LAN, you’ll see an access denied message:

Troubleshooting
SSL Certificate Issues
- Ensure your Cloudflare API token has the correct permissions
- Check Caddy logs for specific SSL-related errors
Service Unreachable
- Verify that the service is running and on the correct Docker network
- Check if the port in the Caddyfile matches the service’s exposed port
Configuration Not Updating
- After changing the Caddyfile, remember to reload Caddy
- If changes don’t take effect, try restarting the Caddy container
LAN-only Access Not Working
- Verify your local network’s IP range in the
LAN_onlysnippet - Ensure the
import LAN_onlydirective is correctly placed in each service block
- Verify your local network’s IP range in the
Hmm. We’re having trouble finding that site
- If you encounter a “site not found” error on macOS, ensure that your DNS settings are correctly configured to resolve the subdomains to your server’s IP address. You may need to flush your DNS cache or update your
/etc/hostsfile for local testing. - To flush the DNS cache on macOS, run:
# May need to spam this command a few times 😂 sudo dscacheutil -flushcache; sudo killall -HUP mDNSResponder- If you encounter a “site not found” error on macOS, ensure that your DNS settings are correctly configured to resolve the subdomains to your server’s IP address. You may need to flush your DNS cache or update your
DDNS not working
- Maybe due to Domain Renewal -> Recreate api token
Conclusion
You’ve now set up a secure hosting environment for your services using Caddy as a reverse proxy. This setup provides SSL encryption, easy service management, and LAN-only access for specific services. Caddy’s simplicity and power make it an excellent choice for hosting SaaS applications, providing both security and flexibility.
Next Steps
To further enhance your setup, consider:
- Implementing additional security measures like fail2ban
- Setting up monitoring and alerting for your services
- Exploring more advanced Caddy features and plugins