Introduction
Many services exist to track your home IP address, such as noip and duckdns. However, these solutions often come with drawbacks:
- Some require frequent logins (e.g., noip)
- They are third-party services
- They may need router configuration, which isn’t always supported
This guide presents a plug-and-play solution using Cloudflare DDNS to keep your domains synchronized with your home IP address.
Requirements:
- A domain (zone) on Cloudflare
- Docker installed on your system
How it works: Cloudflare provides an API to update domain records. We’ll use a Docker container to periodically call this API, ensuring your domain always points to your current IP.
Setting Up Cloudflare DDNS
1. Docker Compose Configuration
Create a docker-compose.yml file with the following content:
version: '3.9'
services:
  cloudflare-ddns:
    image: timothyjmiller/cloudflare-ddns:latest
    container_name: cloudflare-ddns
    security_opt:
      - no-new-privileges:true
    network_mode: 'host'
    environment:
      - PUID=1000
      - PGID=1000
    volumes:
      - ./config.json:/config.json
    restart: unless-stopped
2. Cloudflare Configuration
Create a config.json file with your Cloudflare settings:
{
  "cloudflare": [
    {
      "authentication": {
        "api_token": "your-token",
        // OR use api_key instead
        "api_key": {
          "api_key": "your-api-key",
          "account_email": "your-email"
        }
      },
      "zone_id": "your-zone-id",
      "subdomains": [
        {
          "name": "speed",
          "proxied": false
        },
        {
          "name": "download",
          "proxied": false
        },
        {
          "name": "torrent",
          "proxied": false
        }
      ]
    }
  ],
  "a": true,
  "aaaa": true,
  "purgeUnknownRecords": false,
  "ttl": 300
}
3. Deploy the Container
Run the following command in the directory containing your docker-compose.yml and config.json files:
docker compose up -d
4. Verify Configuration
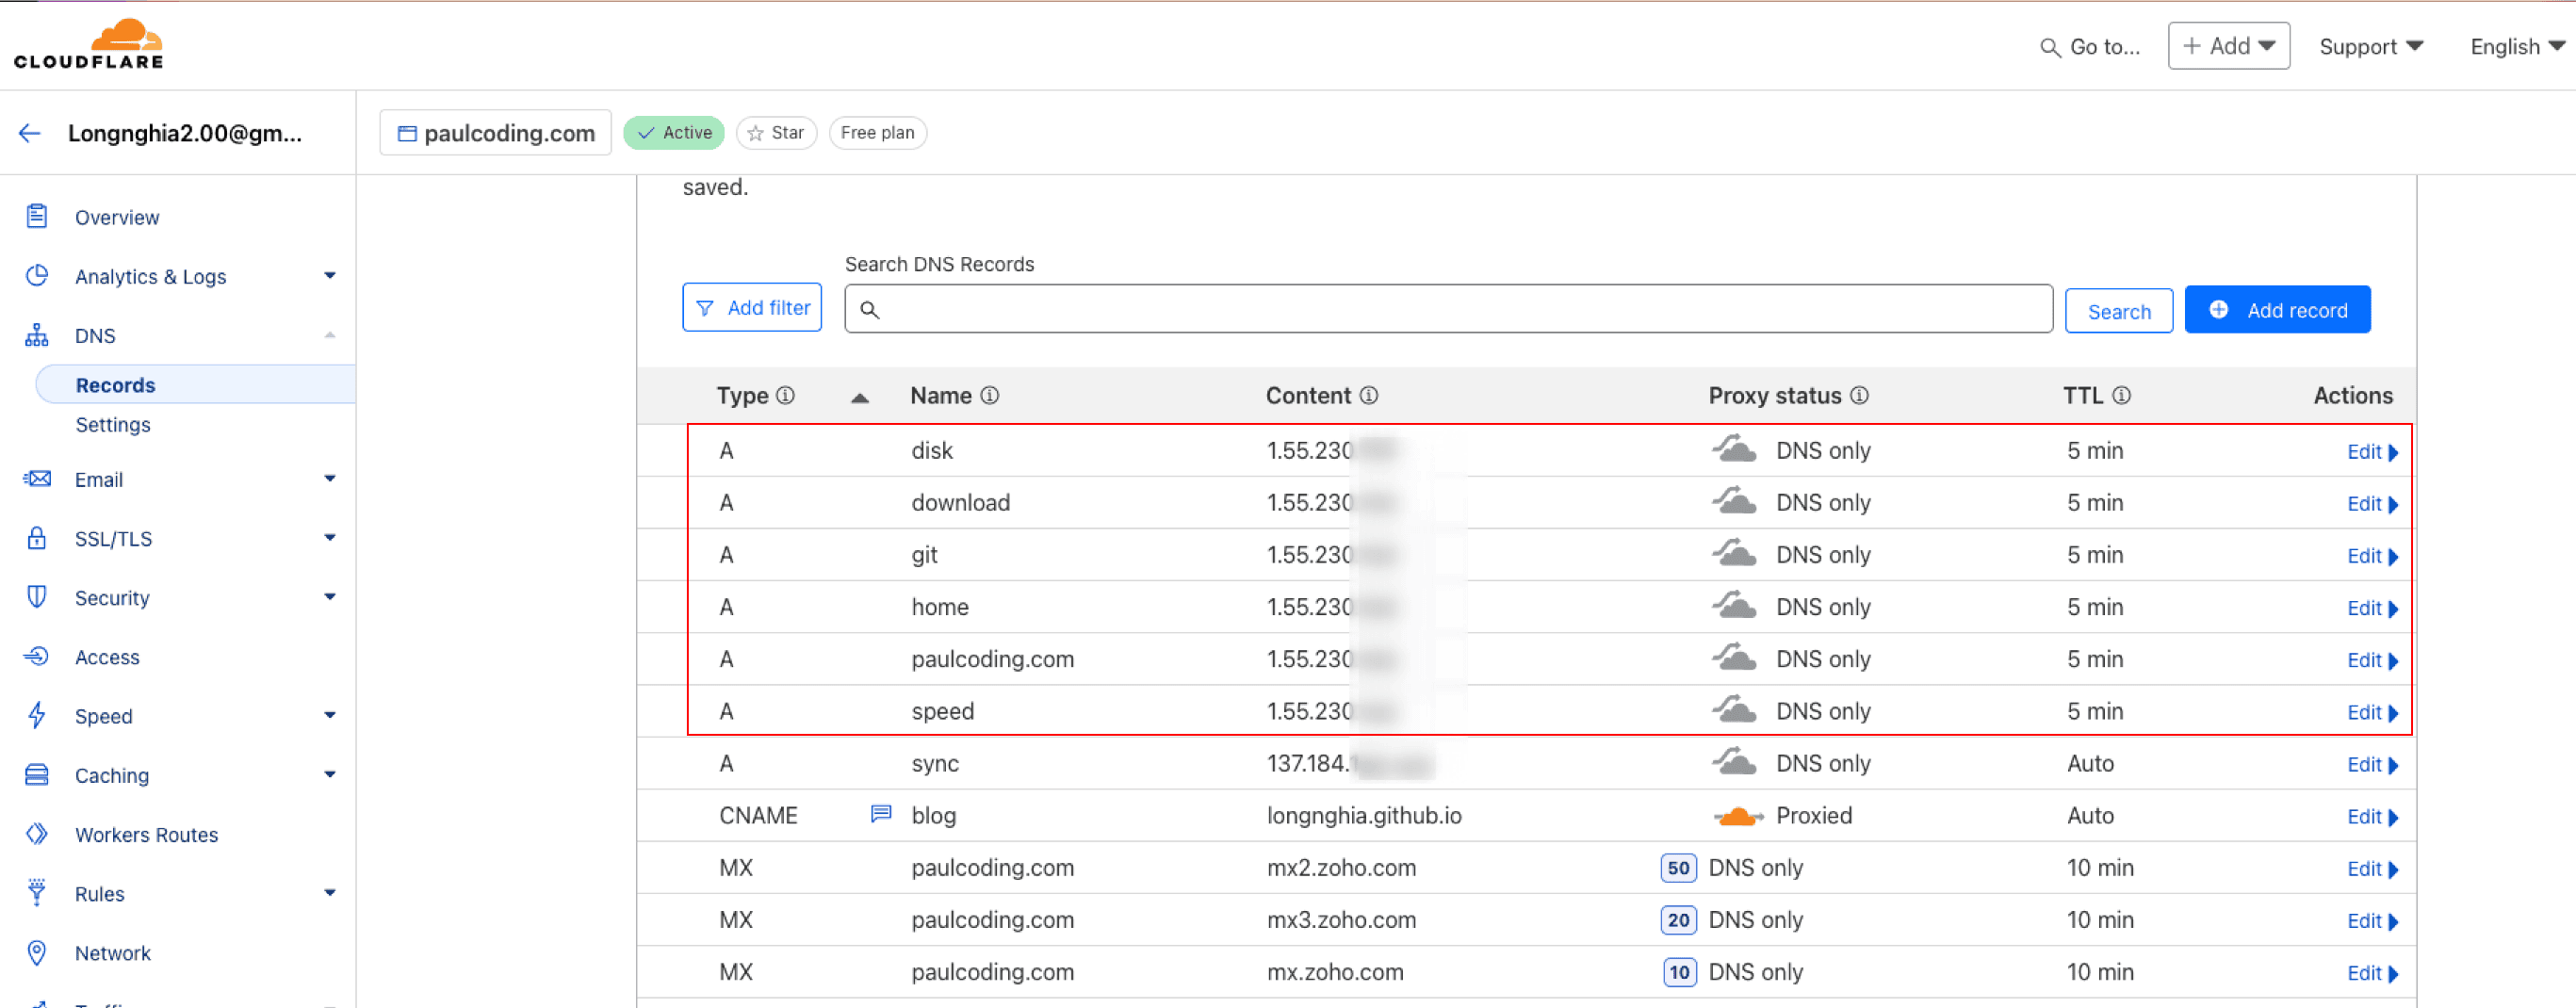
Check your Cloudflare dashboard to confirm that the subdomains have been added:

Additional Notes
If you’re using Caddy as your web server, it provides a plugin called caddy-dynamicdns that can perform similar DDNS updates. For more information, see my Caddy guide.